How do you know if your cover needs lanolizing?
When you wash it, press it into the water. Look for the following signs:
If wool sits on top of the water and has little pools of water gathering on top - it does not need lanolizing.
If wool sits on top of the water and has some pools and some areas that absorbed water without assistance - it could use a good lanolizing soon.
If wool sinks and saturates completely - it is time to lanolize.
Now here's how to lanolize without those pesky lanolin spots. I've been very thorough, so there are quite a few pictures. Have fun!
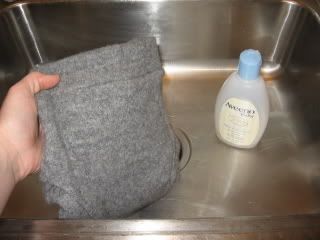
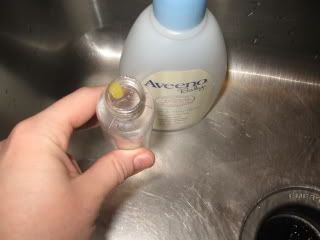
Step 1: Locate wool and wash. I'll be using Aveeno baby wash because Kellie has sensitive skin and I know this doesn't bother her. We avoid any excess scents if possible. Wool-specific wash is available. But when this works, why pay extra?
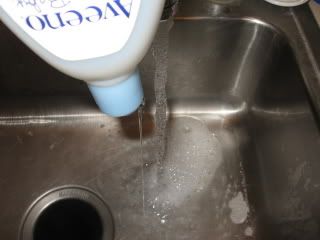
Step 2: Fill the sink with tepid water. Test with wrist.

Step 3: Add baby wash.
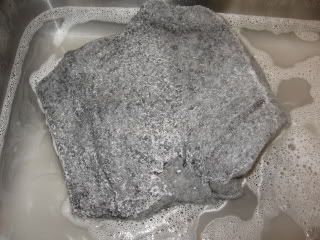
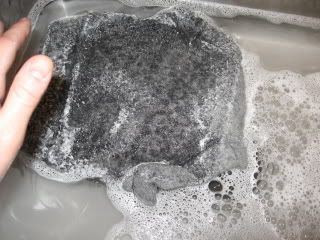
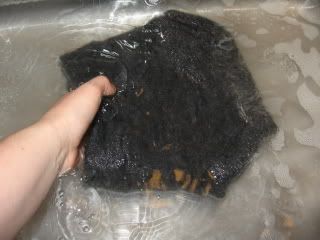
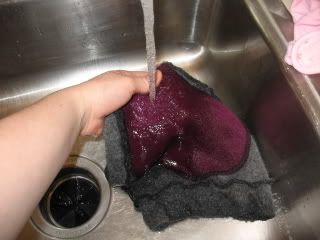
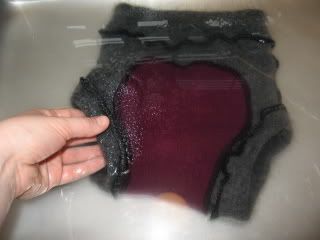
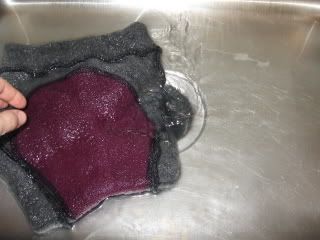
Step 4: Add wool. Notice my wool soaked up water over it's entire body. This cover has never been lanolized.
Step 5: Swish wool around a bit. Make some bubbles.
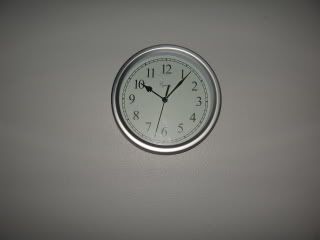
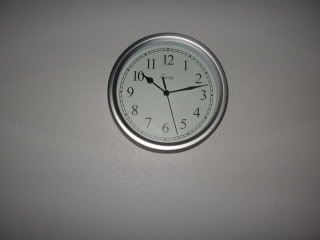
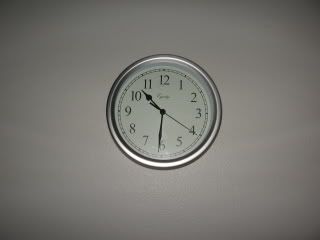
Step 6: Check the clock. Let wool sit for five minutes.
In that five minutes you could:
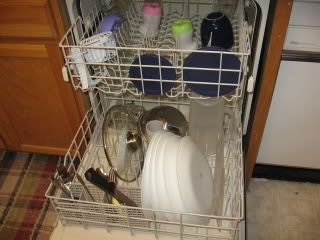
Unload the dishwasher.
Make a pot of coffee.

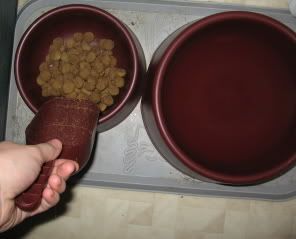
Feed the dog.
Ding! Five minutes are up. Go back to your wool.
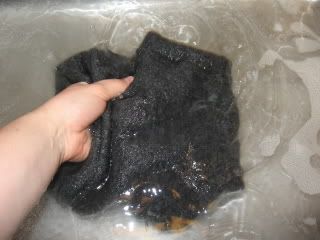
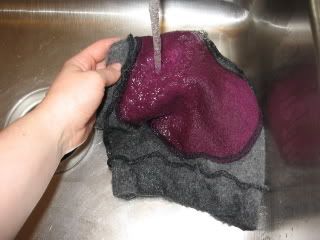
Step 8: Swish it around a bit more.

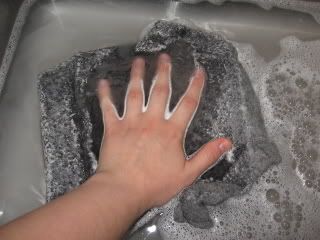
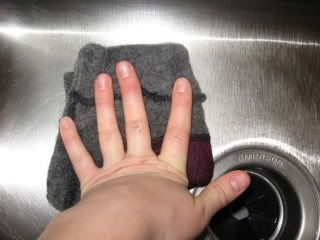
Step 9: Massage gently. Using both hands. Hey, someone has to hold the camera!

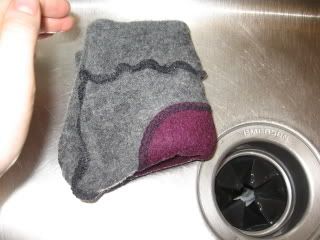
Step 10: Turn wool inside out.
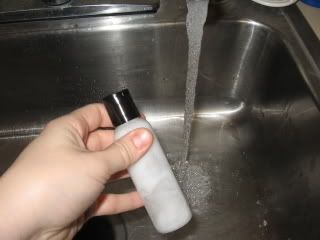
Step 11: Rinse thoroughly in tepid water.
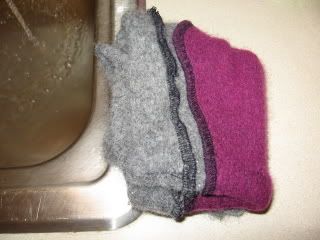
Step 12: Squeeze out excess water. Set aside.
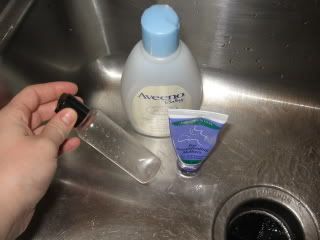
Step 13: Locate your wool wash, your lanolin, and your mixing container with lid. I'm using regular solid lanolin purchased from a local retailer. Liquid lanolin will work, also. But this stuff is cheaper and it lasts longer. Remember, we're cloth diapering to
save money.
Step 14: Add a pea-sized drop of lanolin to your mixing container.
Step 15: Add a pea-sized drop of wool wash to your container.
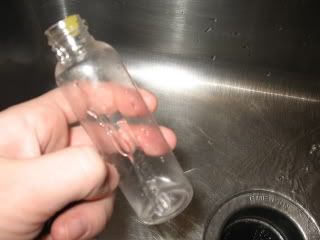
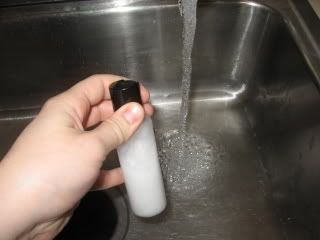
Step 16: Fill halfway with HOT water. As hot as your tap will go.

Step 17: Shake like mad until everything mixes into a nice creamy colored liquid.
Step 18: Fill sink with tepid water. Continue shaking like mad.

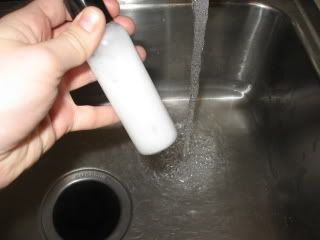
Step 19: Check for nice creamy mixture. No blobs of lanolin left.
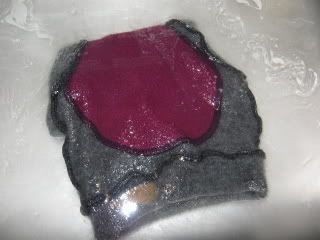
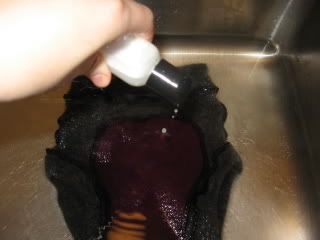
Step 20: Put wool into sink full of tepid water.

Step 21: Add lanolin mixture a little bit at a time. My container has a squeeze top. If you're using a baby food jar or a tupperware, just try not to add it all in one spot.
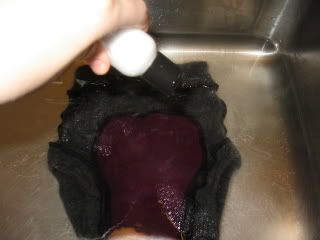
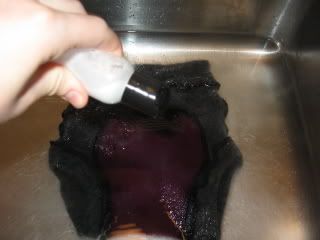

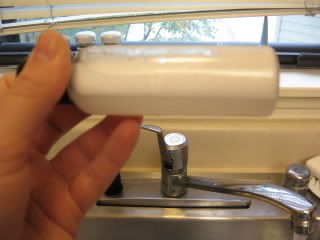
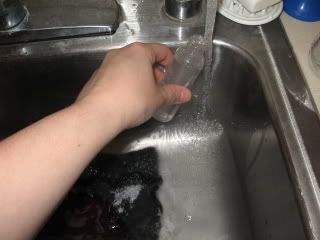
Step 22: Rinse container with tepid water. Pour water into sink with the rest of the lanolin. Every bit counts!
All gone!

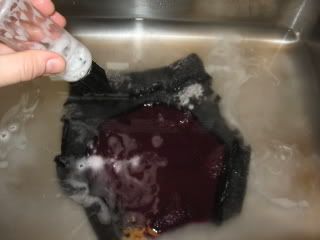
Step 23: Swish around your wool a bit. Turn wool over.

Step 24: Let wool sit for five to ten minutes. I chose five because I know Kellie is due to wake up from her nap any minute. If you have ten minutes, go for it.

In that five minutes you could:
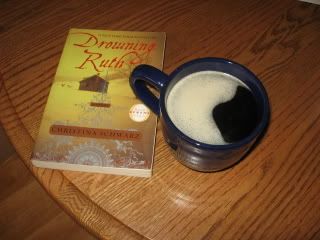
Enjoy the cup of coffee you brewed earlier.
Make the dog move out of your chair so you can 'Pin.

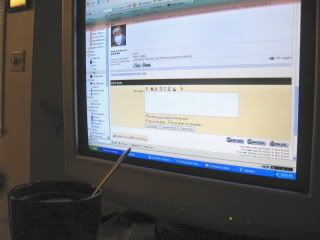
Check your posts.
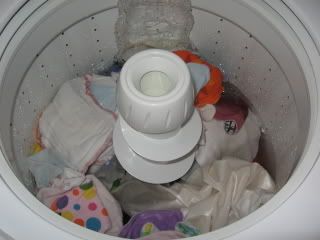
Start a load of diaper laundry.
Ding! Five minutes are up!
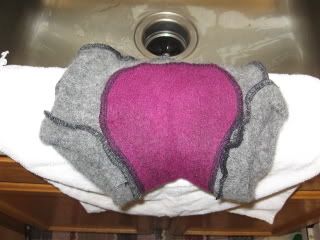
Step 27: Drain the water. Hold onto wool so it doesn't fall into your disposal. Believe me. It happens.
Step 28: Fold wool.
Step 29: Squeeze out excess water.
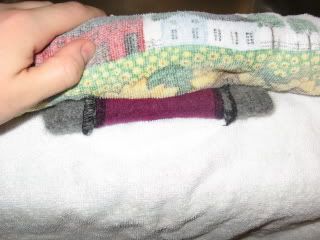
Step 30: Lay wool on towel.
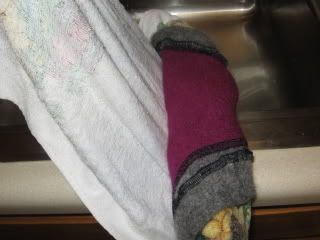
Step 31: Roll it up and squeeze out excess water. It's amazing how much wool can absorb, isn't it??

Step 31: Unroll.
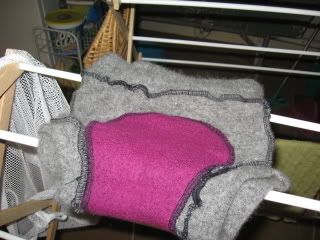
Step 30: Relocate wool to a drying rack or some other well-ventilated area to dry. The drying process can take up to 48 hours. Good thing I didn't take pictures of that, right?
And you're done! You lanolized your wool and didn't get a single lanolin spot! Give yourself a pat on the back. I'm off to get Kellie. She'll be hungry by now.


